This week is teacher appreciation week and I wanted to make something fun for Riley's teachers. I was searching my Gift Ideas board on Pinterest when I found this pin: 39 DIY Girfts You'd Actually Want to Receive. I had pinned the photo of the Terrarium Kit and knew that this was what I wanted to do! Of course, I had the so much fun buying supplies and getting everything ready that I finished the terrariums instead of leaving them as a kit for the teachers to put together...something tells me they won't mind too much!
Teacher gift - DIY Terrarium
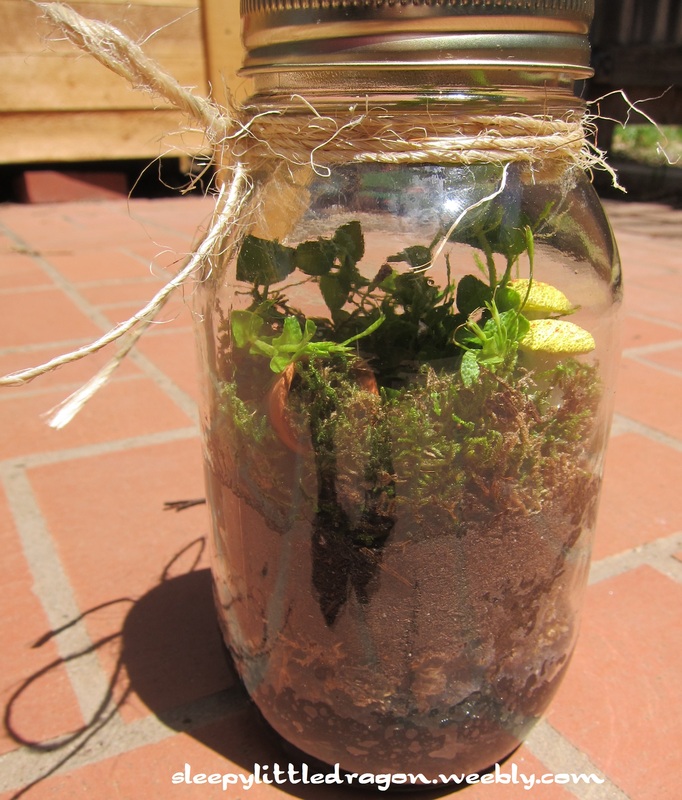
While I was making the teachers a terrarium, I decided that I needed one as well...then my husband asked for one for his office so in the end, Riley & I made 4 terrariums!
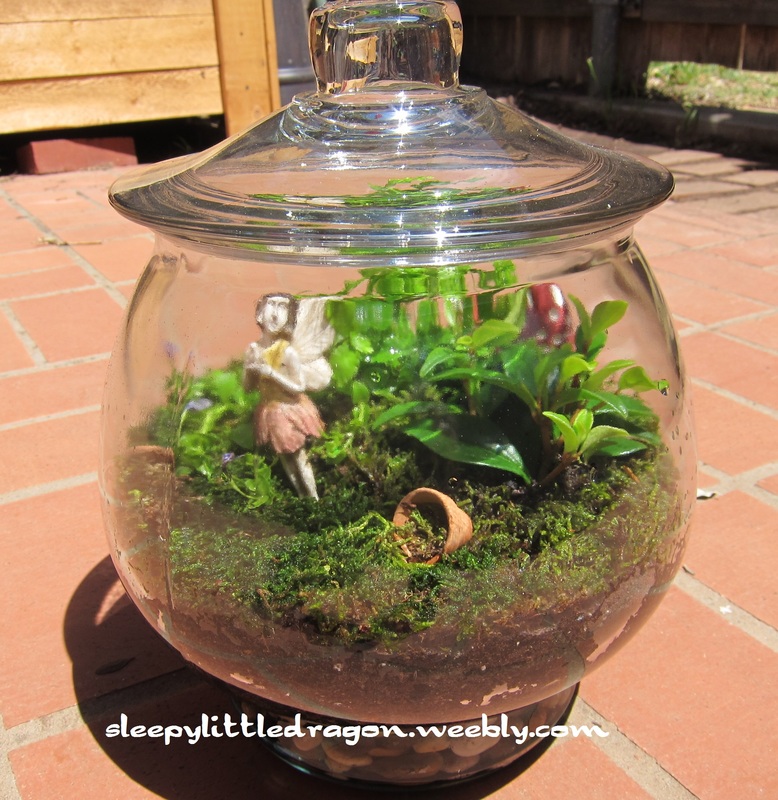
My terrarium, complete with spilled terra cotta pots, mushrooms, & a faerie.
I pulled some Pinspiration from my Plants & Fungi board to see more instructions on what all to include in my terrarium. I ended up combining a few things, mostly because I really liked the layered look of one terrarium in particular (seen here). (Also, there are some great instructions found at this website.) Supplies! - Glass jar
- Gravel, pebbles, marbles
- Activated charcoal (available at pet stores or gardening stores)
- Sphagnum moss (the dead stuff, found at gardening stores)
- Potting soil
- Small plants
- Spoon & butter knife
- Moss (living would be best)
- Small decorations
Make it! - Pour in 1-2 inches of pebbles on the bottom of the jar.
- Place sphagnum moss - this helps prevent the soil from going down into the pebbles.
- Add a thin layer of activated charcoal - this helps to filter the air. *Note - I forgot and did the charcoal before the sphagnum moss...oops!
- Sprinkle a layer of potting soil, roughly ~1/4 - 1/2 inch.
- Remove your plants from their pots and break up the roots a bit to encourage growth. Place in the terrarium in the desired positions - take your time! This is part of the fun in deciding how to set it up.
- Using the knife to help you hold back the plants, spoon more potting soil all around the plants, filling in the gaps. You should have about 1-2" total potting soil.
- Add the moss - you'll need to break it into smaller chunks to fit the spaces around your plants. Gently lift the foliage and place the moss all around the plants' stems. I used the knife to sort of poke it down into place, pushing the edges of the moss down around the inside of the jar.
- Add decorations! My favorite step! I purchased most of my things from my local garden store - they now have fairy garden supplies, making it awfully convenient to pick up cute little decorations! I found the terra cotta pots at Michael's.
- Sprinkle in some water, not too much...it shouldn't be higher than the gravel in the base of the jar.
- Put the lid on and leave it in an area of your home that receives bright light (not too dark, not too sunny!).
It may take awhile to figure out if you have too much water or need to add more. Keep an eye on your terrarium and if it starts to look dry, add more water. If there is too much condensation, remove the lid for a little while to let the water escape. You should be able to reach an equilibrium where you need not remove the lid! You'll have your very own self-contained terrarium! Learn more!

EcoSphere Self-Contained Underwater Ecosystem
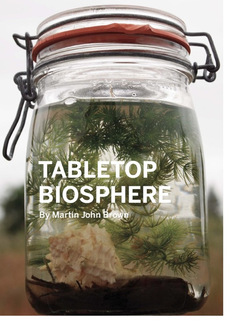
Make your own Biosphere!
- Here's a great list of terrarium books someone else has already put together.
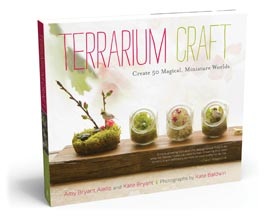
Terrarium Craft: Create 50 Magical, Miniature Worlds By Amy Bryant Aiello and Kate Bryant
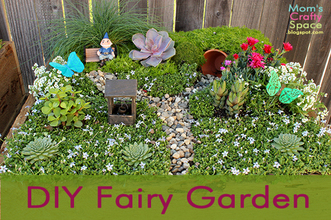
- You should also check out the amazing Fairy Gardens on The Magic Onions! They have a competition every year so there are loads of fun photos to ooooh and ahhhhh over!
Bringing Information and Resources to Houston is an amazing event held each year to educate pregnant women and families in a free, fun, and exciting way! As you arrive, you receive a free goodie bag with pamphlets, coupons, and freebies. Next, you must decide which of the speaker sessions you'd like to attend. There are multiple rooms where a variety of informational lectures/talks/demonstrations/films take place. You can learn about nutrition, education, babywearing, breastfeeding, health concerns, and so much more! Then there are the vendors!! So many wonderful vendors come from all over Houston and the surrounding areas to offer their services. Some vendors have supplies you can buy right at their booths, others offer discounts for when you visit their store later. Many vendors have freebies, giveaways and raffles, and baby stuff for you to try out. I'll be honest - the vendors are personally my favorite part of the B.I.R.T.H. fair ;-) At Noon, we celebrate the physicians in the community who help support healthier mother & baby maternity care. Following the awards, there is a fashion show! The models are families from the community wearing clothing from various local stores as well as cloth diaper apparel and sometimes babywearing gear. The children have such a great time being a part of the fashion show! You can tell they know they're doing something very important! Oh, and did I mention that all of the B.I.R.T.H. Fair events are FREE!?! Yup! 100% FREE!! So if you are pregnant, new mama, old mama, small family, large family, or even just thinking about having a family, this fair is for YOU! Come out and meet the members in your birthing community! It is a wonderful time to find the support you need for your pregnancy, babies, and children of all ages! Also, don't forget to stop by and see me at the Music Garden booth - I'll be helping out there this year!
Click here for a detailed list of the Special Speaker Sessions: diapers, dads, & doulas, vaccines & VBACs, waterbirth, healthcare options, postpartum disorders, & education...there is something for everyone! Babywearing "Got a babywearing breakdown? Come by the BIRTH Fair's Sling Station, open 1 p.m. to 4 p.m., Saturday, October 6, 2012. Local babywearing "technicians" will provide free, one-on-one baby carrier advice and tune-ups. Improve the fit of your existing carrier, learn a new technique or carry, get a recommendation, or ask a question!
New to babywearing? Please join Angelique Geehan and Mary Puryear Potee at 11 a.m. for "Baby Carriers and Slings 101." This orientation will cover the benefits of using cloth slings, major types of carriers, how to select a good carrier for your family (including basic safety points), and where to find help as your family's babywearing needs change.
Please feel free to spread the word!" - from my friend's Facebook page :-)
Extras! - This is a 3 day event! Special Speakers Series
Friday, October 5, 2012United Way - 50 Waugh Dr. - Houston9:00 am to 12:00 pm - CPR - FREE - register at [email protected] 9:00 am to 9:45 am - Circumcision
9:45 am to 10:30 am - Placenta Encapsulation
10:30 am to 11:15 am - Abdominal Scar healing
11:15 am to 12:00 pm - AcupunctureSunday, October 7, 2012
Haven Center St. Stephen's Episcopal Church - 1827 W. Alabama1:00 pm to 3:00 pm - Birth Trauma & Your Baby's Brain - Pauline Dillard 3:00 pm to 5:00 pm - The Birth of a Father - Patrick Houser
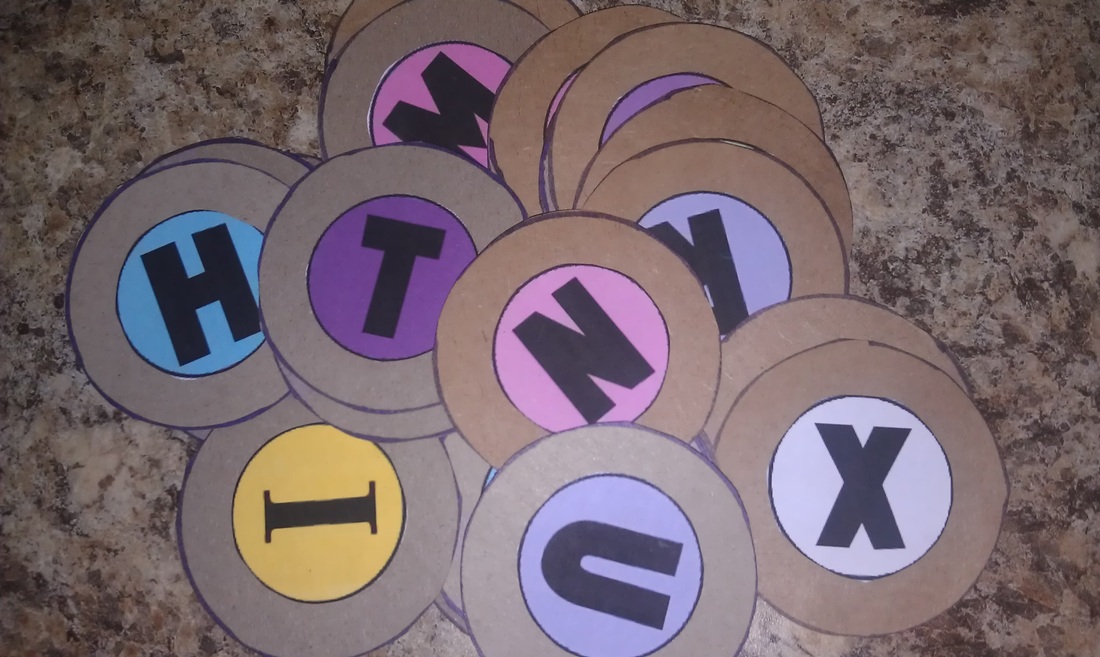
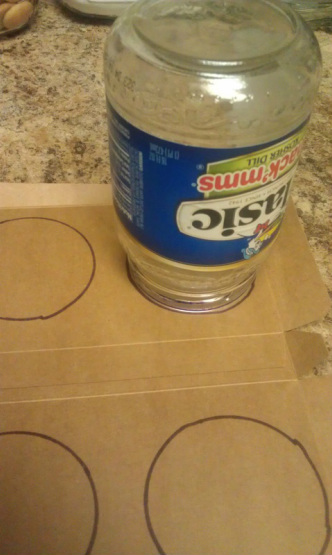
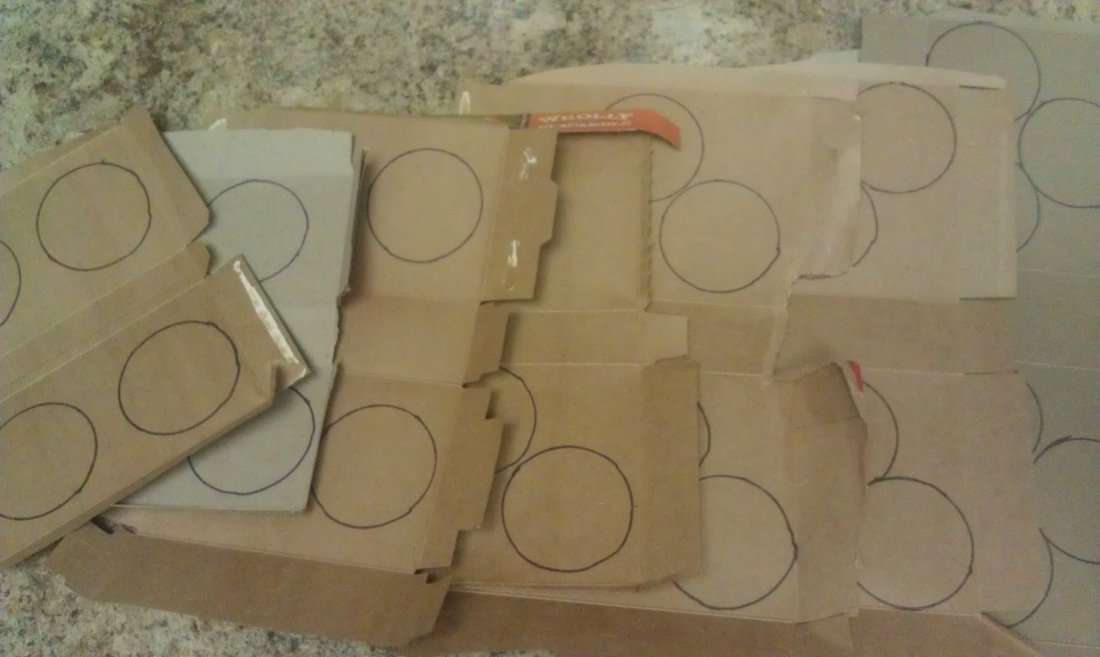
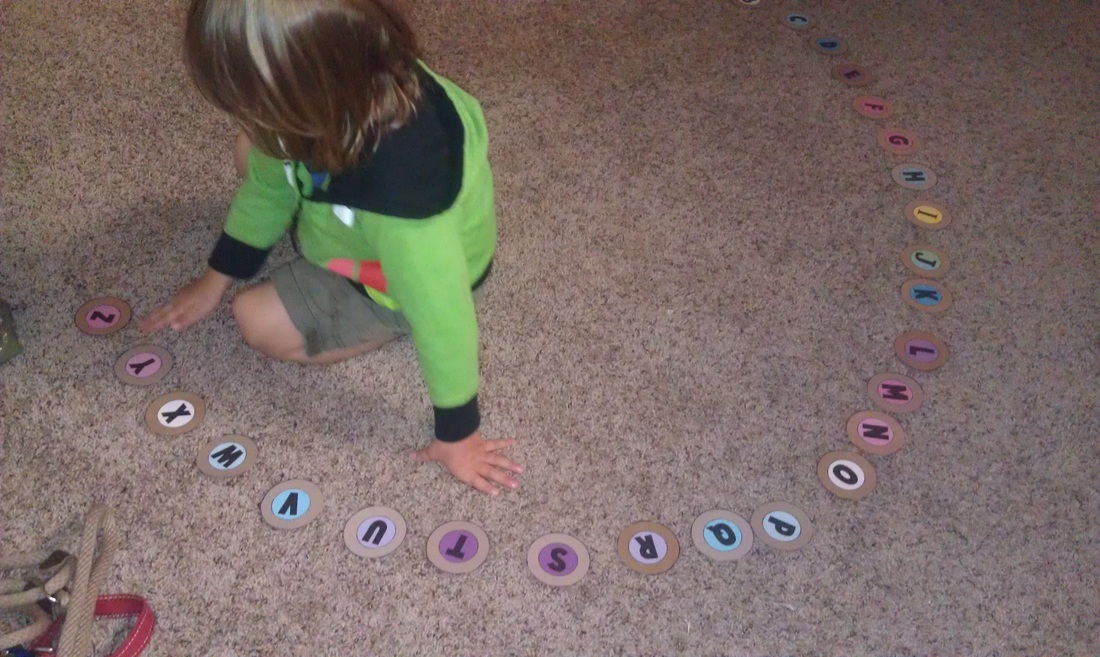
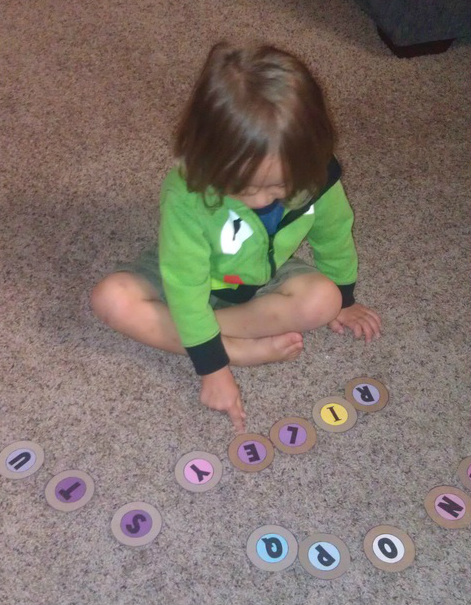
Riley has a huge interest in the alphabet right now so we have been reading lots of books, singing the alphabet song, spelling words we see while we drive, and creating letters out of various materials. While browsing Pinterest, I found some inspiration here & here to create a set of alphabet circles for Riley to play with. First, I traced circles with a jar onto recycled cardboard boxes. Then I had to cut them all out!! A few sore fingers later...I had a nice stack of discs, which Riley was already enjoying stacking up and turning them over. Then I went online and found a printable alphabet and numbers to paste onto the circles with a glue stick. Notice that most of my colors are shades of pink & blue...after the "I", the yellow ink ran out! Oops! We immediately set about sorting our new alphabet on the floor and sang the song to help us get everything in the right order. And of course, we had to spell Riley's name! Not only was it fun to find the letters in his name, we also had fun returning the letters to their rightful spot in the lineup, singing the song once again to make sure the "E" and "I" weren't mixed up.
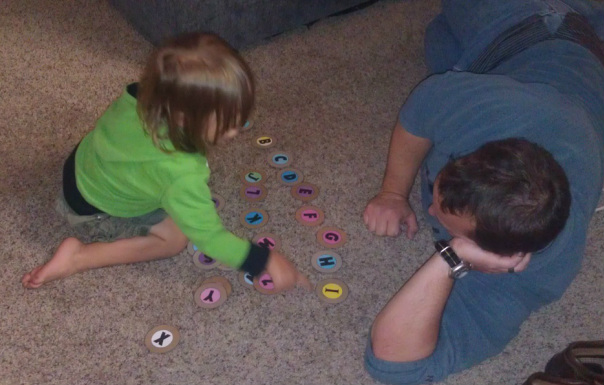
Riley wanted to show Daddy how to line up the letters properly.
Hippo! No, Rhino by Jeff Newman
|