This week is teacher appreciation week and I wanted to make something fun for Riley's teachers. I was searching my
Gift Ideas board on Pinterest when I found this pin:
39 DIY Girfts You'd Actually Want to Receive. I had pinned the photo of the
Terrarium Kit and knew that this was what I wanted to do! Of course, I had the so much fun buying supplies and getting everything ready that I finished the terrariums instead of leaving them as a kit for the teachers to put together...something tells me they won't mind too much!
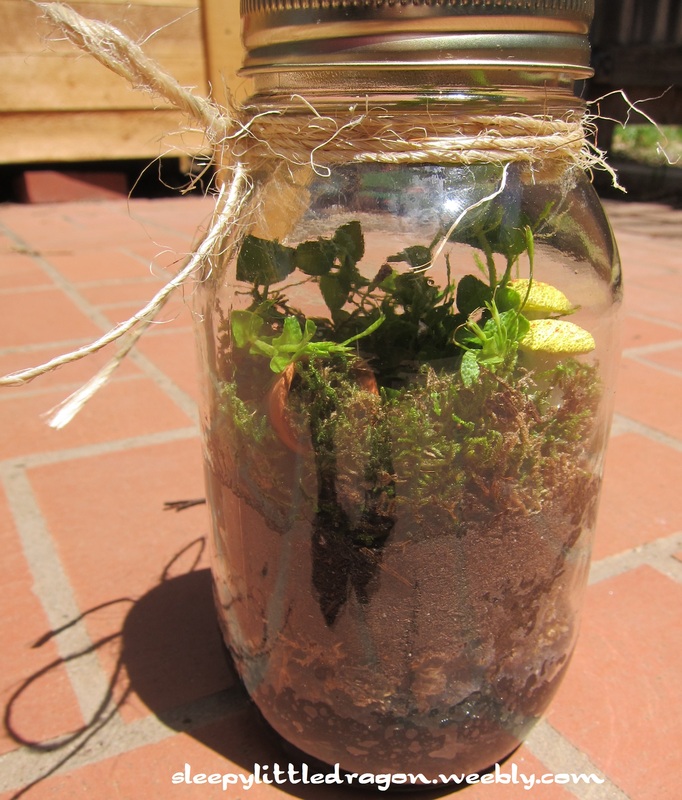
Teacher gift - DIY Terrarium
While I was making the teachers a terrarium, I decided that I needed one as well...then my husband asked for one for his office so in the end, Riley & I made 4 terrariums!
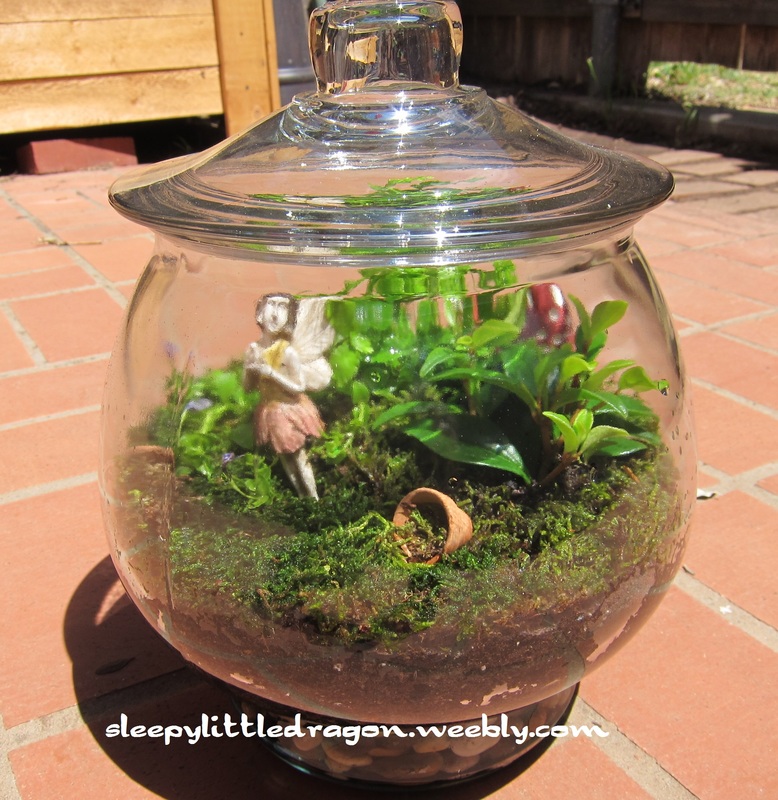
My terrarium, complete with spilled terra cotta pots, mushrooms, & a faerie.
I pulled some Pinspiration from my
Plants & Fungi board to see more instructions on what all to include in my terrarium. I ended up combining a few things, mostly because I really liked the layered look of one terrarium in particular (seen
here). (Also, there are some great instructions found at
this website.)
Supplies!
- Glass jar
- Gravel, pebbles, marbles
- Activated charcoal (available at pet stores or gardening stores)
- Sphagnum moss (the dead stuff, found at gardening stores)
- Potting soil
- Small plants
- Spoon & butter knife
- Moss (living would be best)
- Small decorations
Make it!
- Pour in 1-2 inches of pebbles on the bottom of the jar.
- Place sphagnum moss - this helps prevent the soil from going down into the pebbles.
- Add a thin layer of activated charcoal - this helps to filter the air. *Note - I forgot and did the charcoal before the sphagnum moss...oops!
- Sprinkle a layer of potting soil, roughly ~1/4 - 1/2 inch.
- Remove your plants from their pots and break up the roots a bit to encourage growth. Place in the terrarium in the desired positions - take your time! This is part of the fun in deciding how to set it up.
- Using the knife to help you hold back the plants, spoon more potting soil all around the plants, filling in the gaps. You should have about 1-2" total potting soil.
- Add the moss - you'll need to break it into smaller chunks to fit the spaces around your plants. Gently lift the foliage and place the moss all around the plants' stems. I used the knife to sort of poke it down into place, pushing the edges of the moss down around the inside of the jar.
- Add decorations! My favorite step! I purchased most of my things from my local garden store - they now have fairy garden supplies, making it awfully convenient to pick up cute little decorations! I found the terra cotta pots at Michael's.
- Sprinkle in some water, not too much...it shouldn't be higher than the gravel in the base of the jar.
- Put the lid on and leave it in an area of your home that receives bright light (not too dark, not too sunny!).
It may take awhile to figure out if you have too much water or need to add more. Keep an eye on your terrarium and if it starts to look dry, add more water. If there is too much condensation, remove the lid for a little while to let the water escape. You should be able to reach an equilibrium where you need not remove the lid! You'll have your very own self-contained terrarium!
Learn more!

EcoSphere Self-Contained Underwater Ecosystem
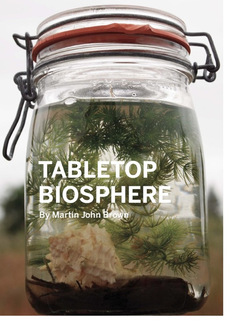
Make your own Biosphere!
- Here's a great list of terrarium books someone else has already put together.
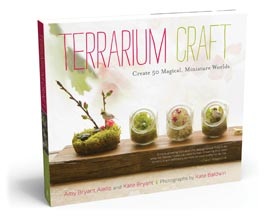
Terrarium Craft: Create 50 Magical, Miniature Worlds By Amy Bryant Aiello and Kate Bryant
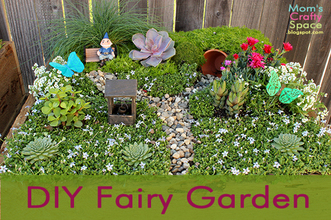
- You should also check out the amazing Fairy Gardens on The Magic Onions! They have a competition every year so there are loads of fun photos to ooooh and ahhhhh over!
While trying to devise a way to hang our holiday cards one year, my husband helped me to craft a magnetic display. Now that Riley is in preschool and bringing home lots of artwork, we made a few more strips to display his creative handiwork.
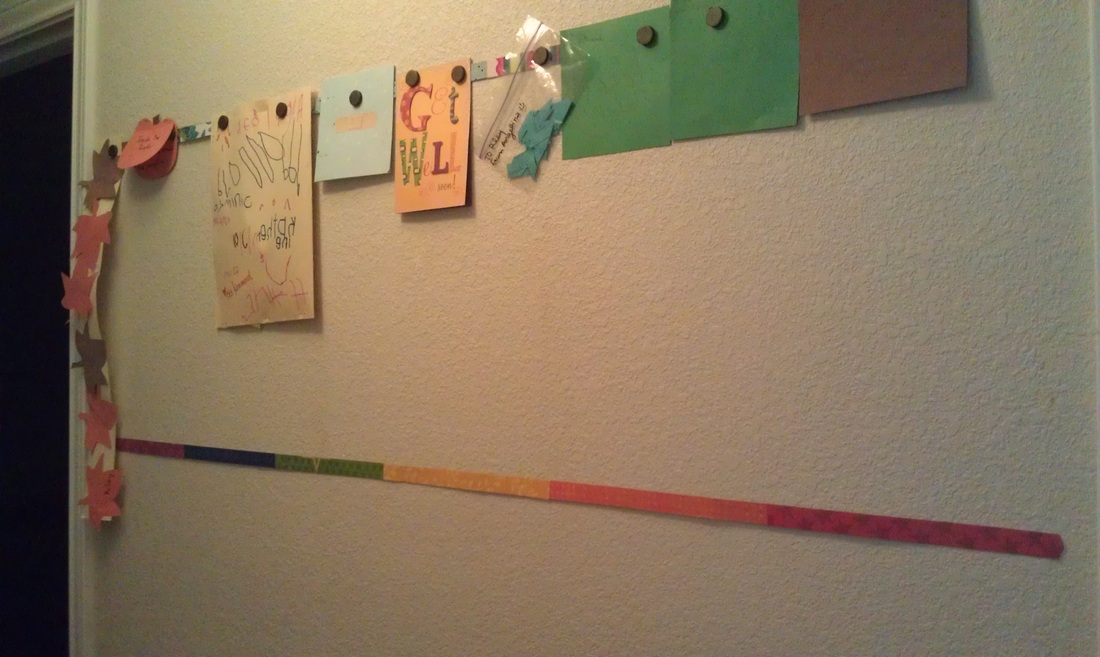
Two of the three magnetic strips we placed in our hallway. I removed the artwork from the second strip so you could see the craft paper.
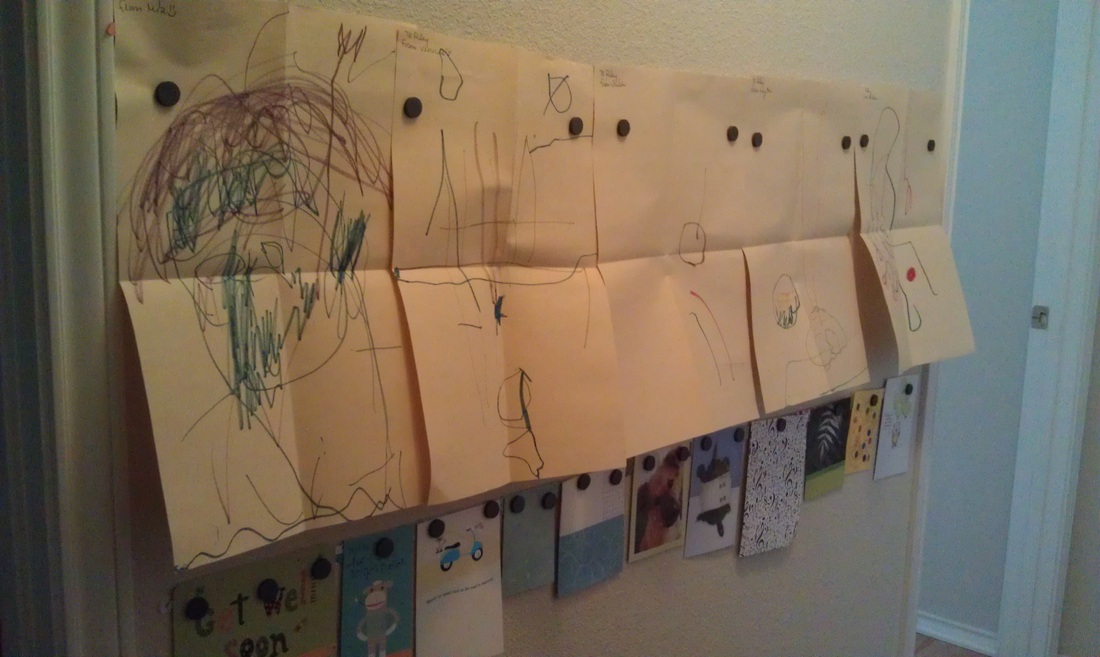
With the lower two magnetic strips at Riley's level, he can easily view his get well cards and artwork from his friends.
Last week, my mom helped me to make the new strips in the photos above. We made 3 for our hallway, 1 for Riley's room, and 1 for her to take home. We decided not to dress up the magnets this time but I may go back later to finish decorating them. These new magnets are from Target as Home Depot was out both times I went looking for them. The Target magnets aren't nearly as strong so some of Riley's heavier and/or thicker work does not stay up, even with multiple magnets. Hold out for the stronger ones - it's worth it!!
Supplies

Magenetic strip I used for this project
* Galvanized Steel Hanger Strap 3/4" (found at Home Depot or Lowe's in the plumbing section)
* Measuring Tape
* Sharpie
* Metal cutter (we used tin snips)
* Craft Paper
* Paper Trimmer (OR rotary cutter & memory mat OR scissors & ruler)
* Mod Podge
* Paintbrush
* Round magnets 3/4"
* Clear flat marbles 3/4"
* E6000 (or your favorite super strong glue)
* Scissors
* Pencil
* Level
* 3M Command Poster strips
1) After you decide where you want to hang your art display, use your measuring tape & Sharpie to mark the length of the magnetic strip. Use the metal cutter to snip the metal on your mark. I also used the metal cutter to round off the edges so they weren't so sharp.
2) The next step is the most fun - select and trim your paper! It could be a theme, a mix of leftovers, whatever you like! The first strip I made had a winter theme for our holiday cards. The new strips were leftover scraps that sort of went together and then I also made a couple of rainbow strips.
Trim your paper down to 3/4" strips. Double check the first strip to make sure it covers your magnetic strip; you may have to adjust trimming the paper accordingly. Since I was making a few magnetic strips, I just trimmed a bunch of paper at once so I could easily mix & match as needed.
3) Time for the Mod Podge - I think this was my mom's favorite step! Use the paint brush to glue the paper strips to the magnetic strip. When everything is in place, use the mod podge once again to paint a coat over the top of the paper. You could also use a clear sealant but the Mod Podge was already out so I just used that instead.
4) Magnets! Hopefully by now you have decided if you'd like to decorate them or leave them plain. If you leave them plain, move on to step 5 - you're nearly finished!
For the holiday card holder, I decorated the magnets with paper scraps & clear flat marbles. Cut out squares of paper slightly larger than the flat marbles. Use a dab of the E6000 to glue the paper to the marble. Trim off the paper around the marble with scissors or a razor blade and memory mat. Use the E6000 to glue the marble to the magnets.
5) Hanging the strips can be tricky...at least for me it was! It took two of us to measure out the spot with the aid of a level, mark it with a pencil, then attempt to center all three strips one above the other! I recommend using the pencil to mark on the wall where you'd like to place the bottom of the strip. Follow the directions on the 3M Command poster strips to attach your magnetic artwork strip to the wall. I used three of the poster strips - one at each end and one in the middle.
6) Hang up your children's artwork or perhaps your holiday/birthday cards. Stand back and admire your new magnetic artwork display!!
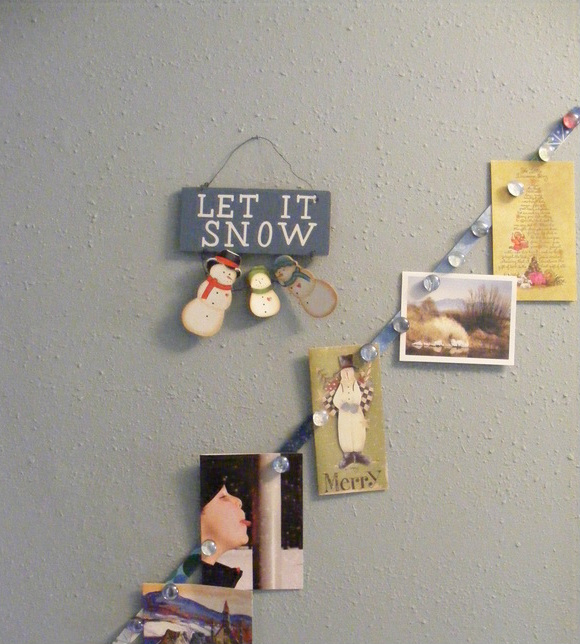
Christmas 2009
You can see in the photo above how I decorated the magnets as well as the magnetic strip for the artwork. I learned the hard way that hot glue is not the best option for really strong magnets - the glass marbles kept separating from the magnets! Which is why I now recommend E6000 - it has a lot more strength to hold things together.
~Be sure to share your photos of your magnetic artwork displays with me on my
Facebook page or link to them in the comments below!
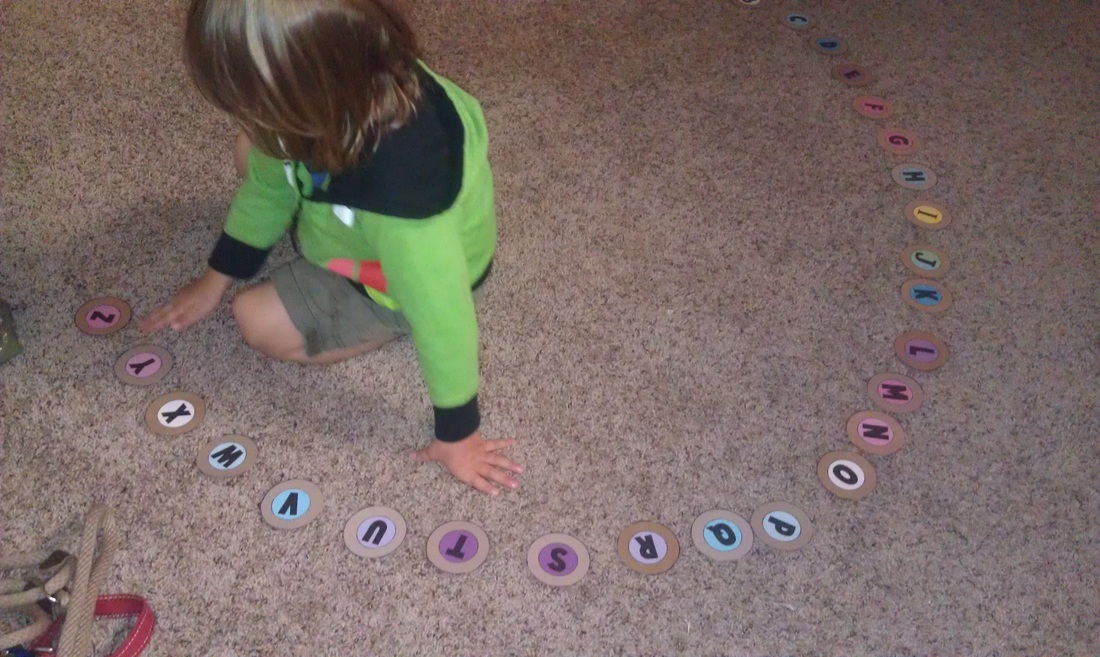
Riley has a huge interest in the alphabet right now so we have been reading lots of books, singing the alphabet song, spelling words we see while we drive, and
creating letters out of various materials. While browsing Pinterest, I found some inspiration
here &
here to create a set of alphabet circles for Riley to play with.
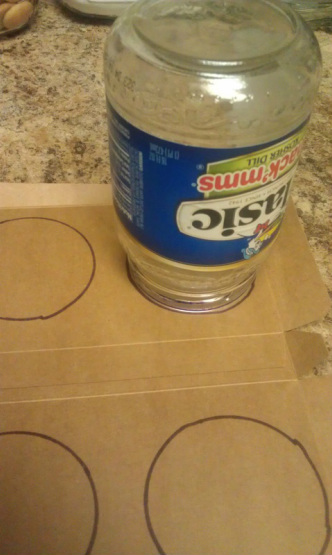
First, I traced circles with a jar onto recycled cardboard boxes.
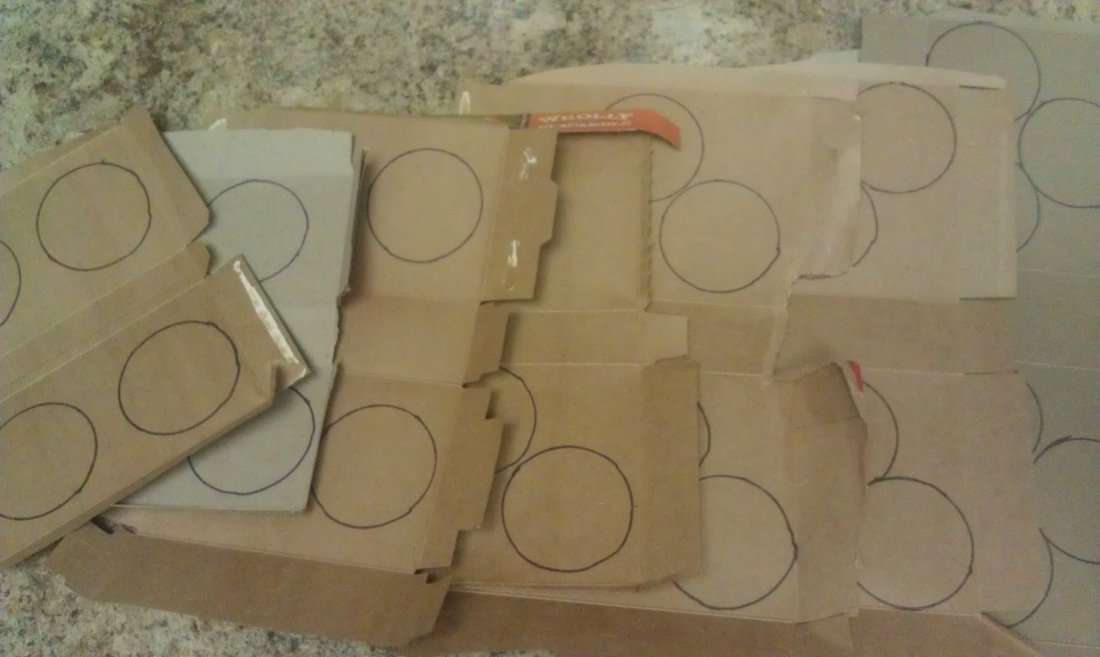
Then I had to cut them all out!! A few sore fingers later...I had a nice stack of discs, which Riley was already enjoying stacking up and turning them over.
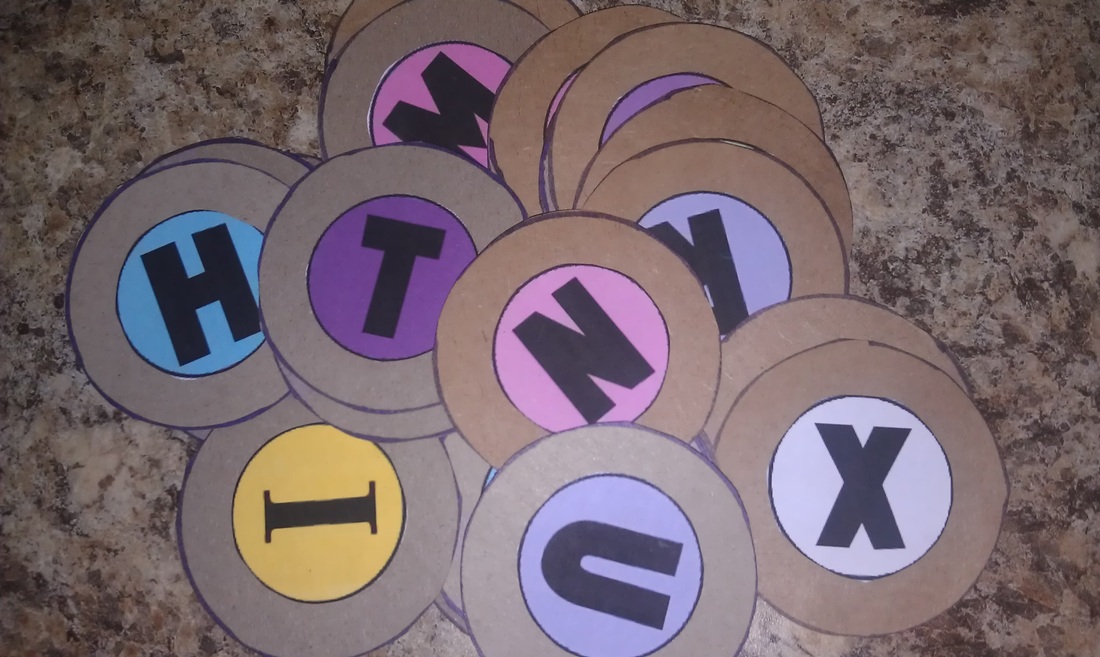
Then I went online and found a printable
alphabet and
numbers to paste onto the circles with a glue stick. Notice that most of my colors are shades of pink & blue...after the "I", the yellow ink ran out! Oops! We immediately set about sorting our new alphabet on the floor and sang the song to help us get everything in the right order.
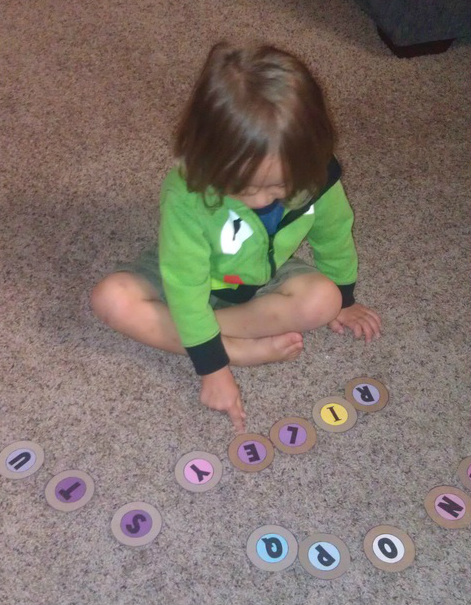
And of course, we had to spell Riley's name! Not only was it fun to find the letters in his name, we also had fun returning the letters to their rightful spot in the lineup, singing the song once again to make sure the "E" and "I" weren't mixed up.
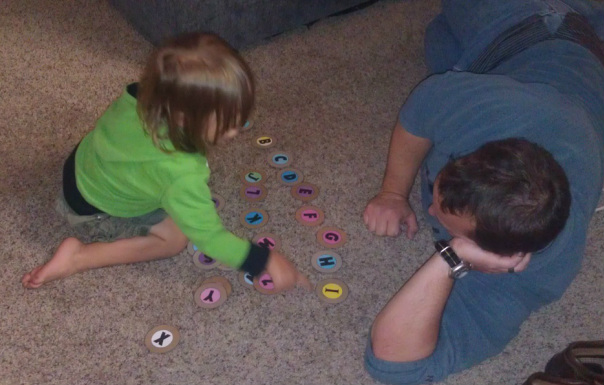
Riley wanted to show Daddy how to line up the letters properly.
Hippo! No, Rhino by Jeff Newman
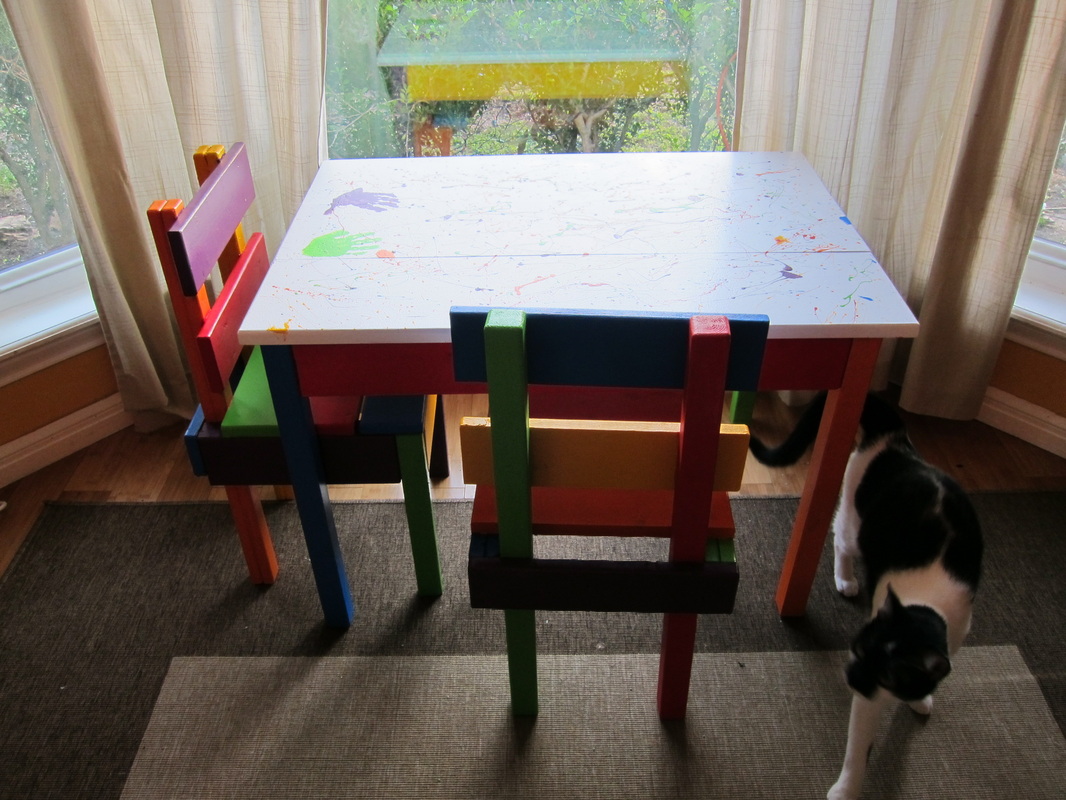
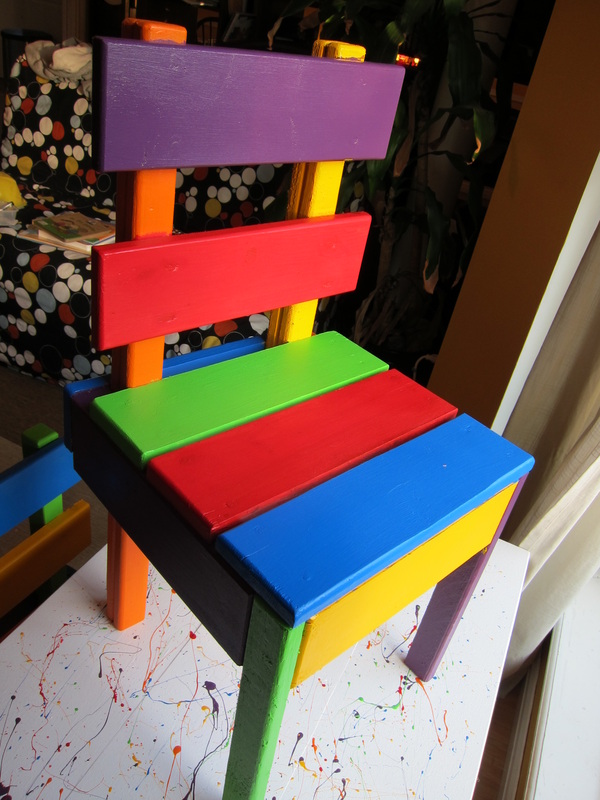
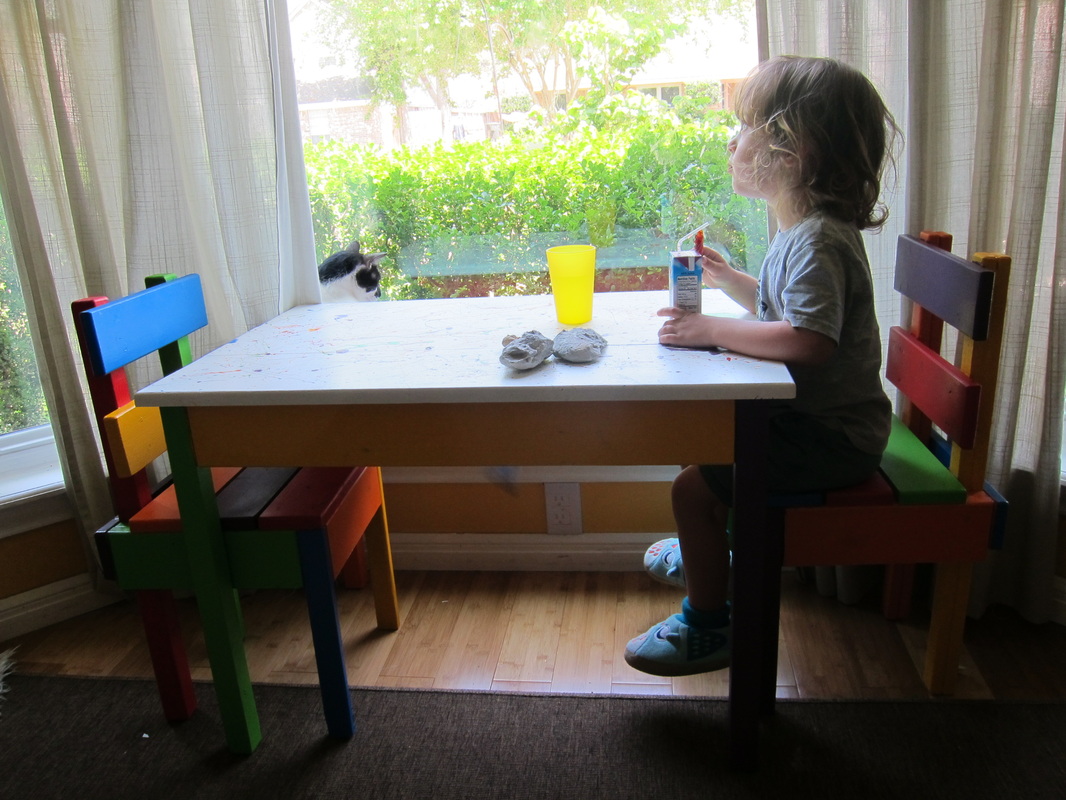
Last month, Henry & his brother built this wonderful table & chair set for Riley! I was soooo excited! I had come across this tutorial awhile ago and couldn't wait for us to have a chance to finally make Riley his very own special place to work, eat, & play.
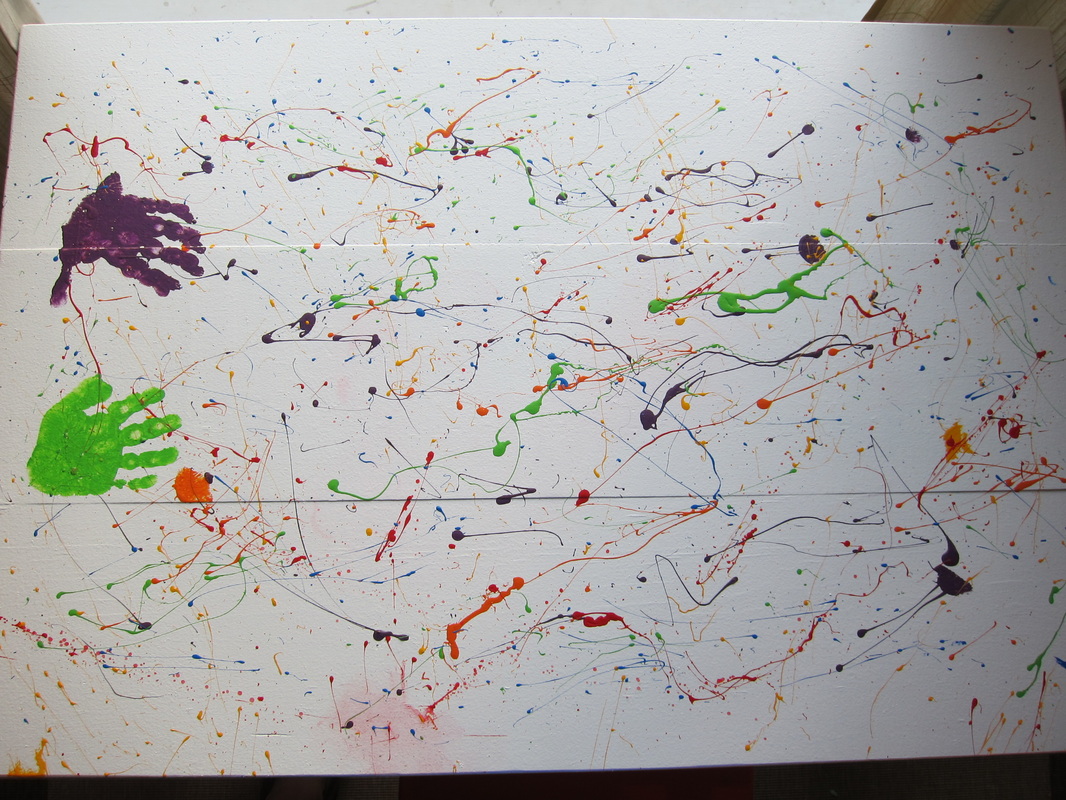
After Henry & his brother, Dan, did the woodwork, Dan's girlfriend, Suzie, & I painted everything. I had already decided to paint everything bright, rainbow colors, but was stumped on the table top. Suzie & I came up with the drizzled paint effect while shaking off some excess in the grass. We had so much fun! Then, as a final touch, Riley had to have a part in the making of his furniture with his hand prints.
Of course, the boys tweaked the directions a bit to suit their own needs, but everything worked out just fine in the end! Now Riley can enjoy eating his lunch while looking out the window, doing crafts, & creating masterpieces with his playdough!
If you would like to make your own table & chairs, check out the directions here:
table &
chairs.
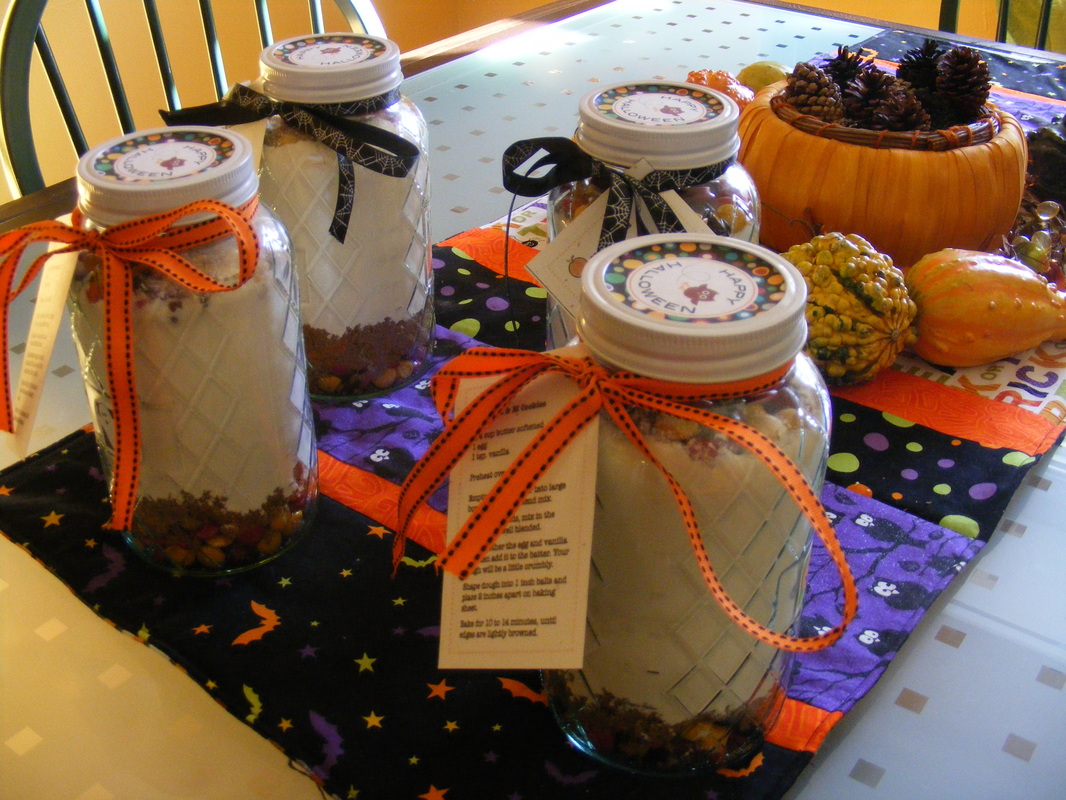
I discovered a wonderful new blog called
Living Locurto. She posts all kinds of wonderful templates and printables, including these wonderful
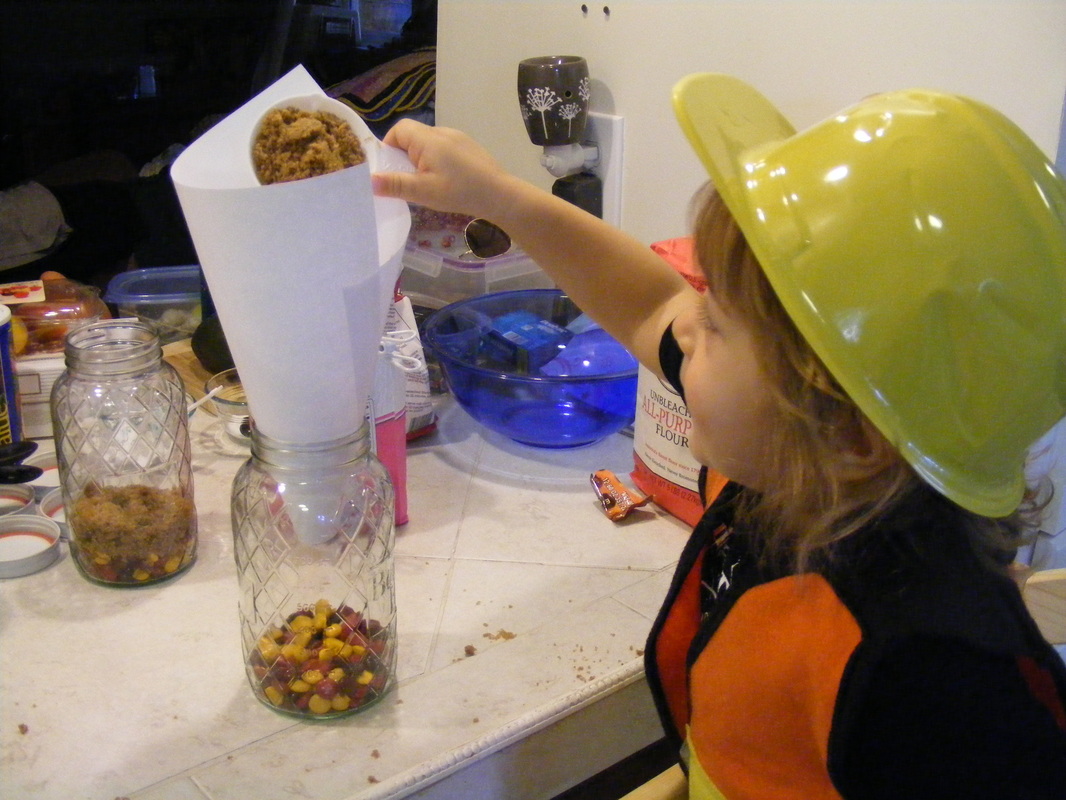
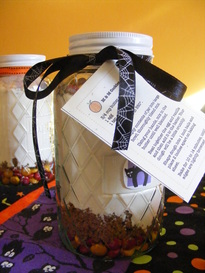
Halloween M&M gift cookies!
I made up a bunch of these jars to hand out to friends, neighbors, & Riley's teachers.
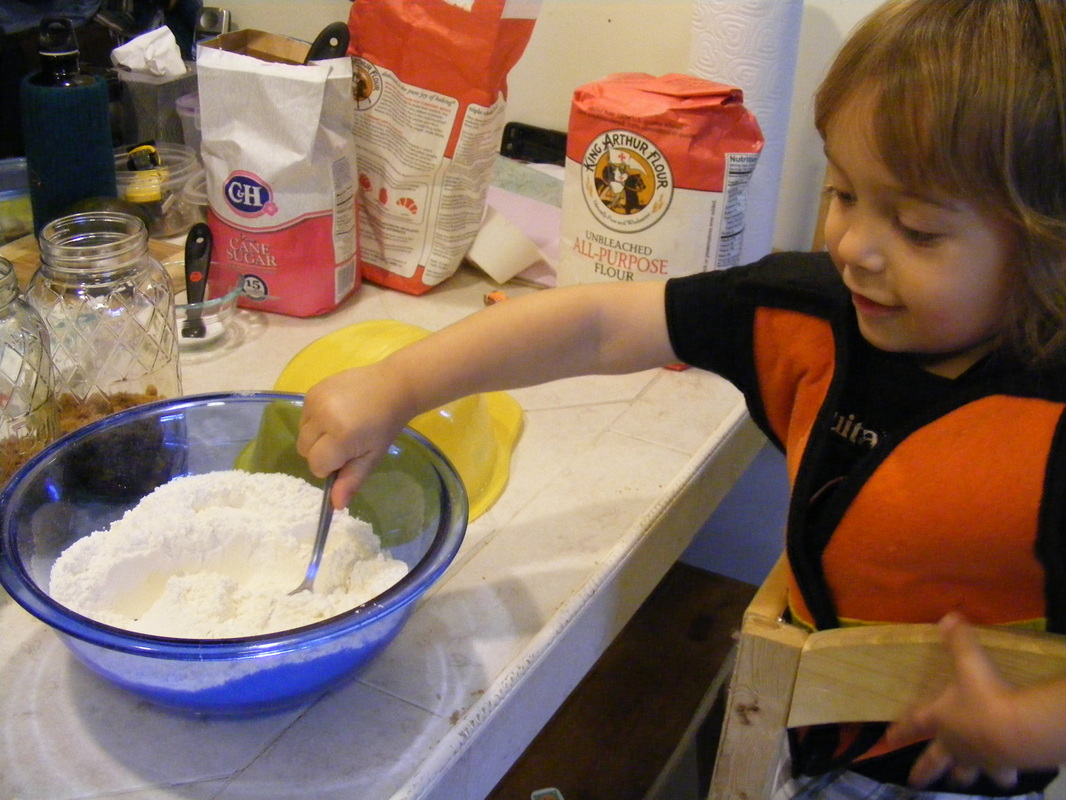
Riley helped with the pouring...
and the stirring!
Go check out the tutorial
here!