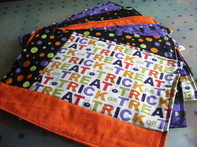
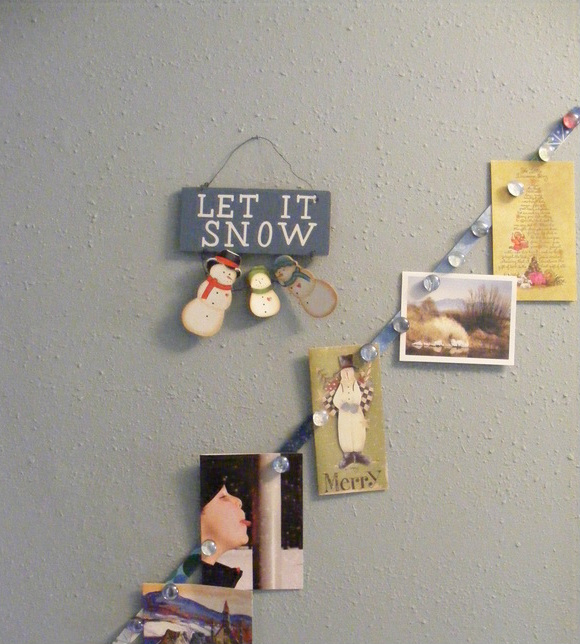
While trying to devise a way to hang our holiday cards one year, my husband helped me to craft a magnetic display. Now that Riley is in preschool and bringing home lots of artwork, we made a few more strips to display his creative handiwork.
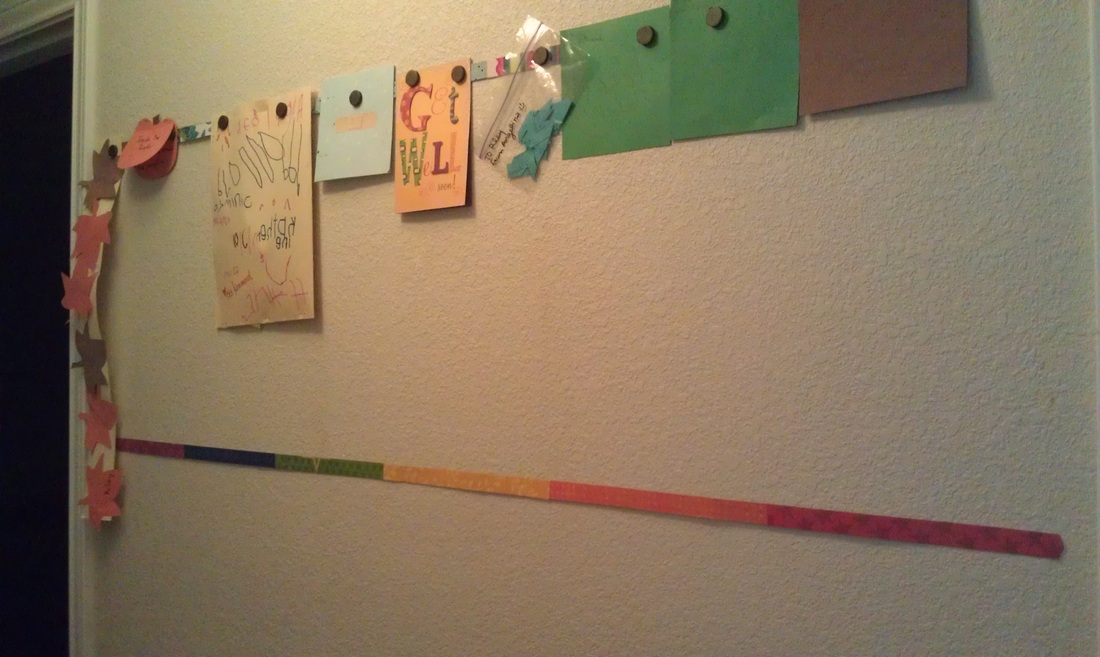
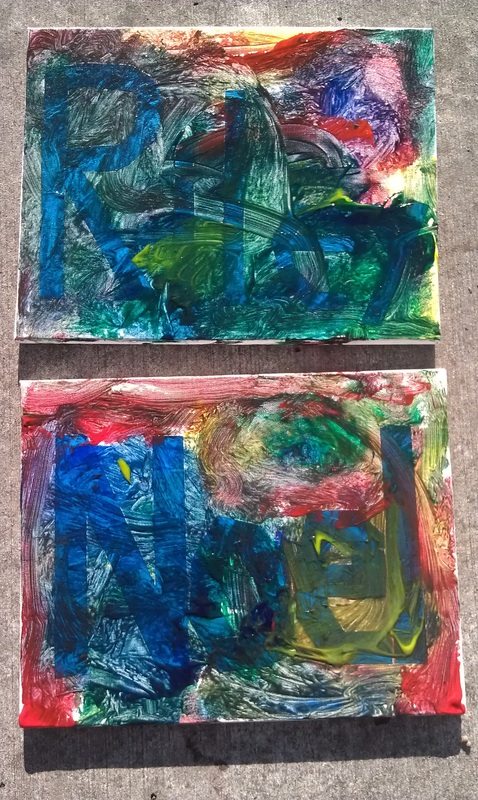
Two of the three magnetic strips we placed in our hallway. I removed the artwork from the second strip so you could see the craft paper.
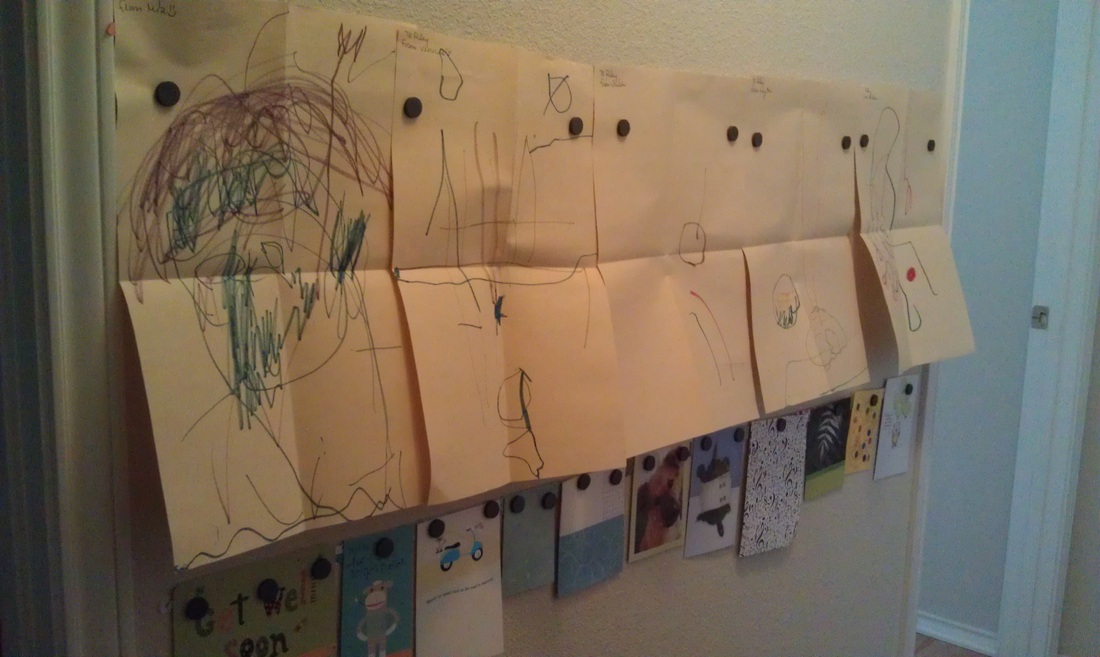
With the lower two magnetic strips at Riley's level, he can easily view his get well cards and artwork from his friends.
Last week, my mom helped me to make the new strips in the photos above. We made 3 for our hallway, 1 for Riley's room, and 1 for her to take home. We decided not to dress up the magnets this time but I may go back later to finish decorating them. These new magnets are from Target as Home Depot was out both times I went looking for them. The Target magnets aren't nearly as strong so some of Riley's heavier and/or thicker work does not stay up, even with multiple magnets. Hold out for the stronger ones - it's worth it!!
Supplies

Magenetic strip I used for this project
* Galvanized Steel Hanger Strap 3/4" (found at Home Depot or Lowe's in the plumbing section)
* Measuring Tape
* Sharpie
* Metal cutter (we used tin snips)
* Craft Paper
* Paper Trimmer (OR rotary cutter & memory mat OR scissors & ruler)
* Mod Podge
* Paintbrush
* Round magnets 3/4"
* Clear flat marbles 3/4"
* E6000 (or your favorite super strong glue)
* Scissors
* Pencil
* Level
* 3M Command Poster strips
1) After you decide where you want to hang your art display, use your measuring tape & Sharpie to mark the length of the magnetic strip. Use the metal cutter to snip the metal on your mark. I also used the metal cutter to round off the edges so they weren't so sharp.
2) The next step is the most fun - select and trim your paper! It could be a theme, a mix of leftovers, whatever you like! The first strip I made had a winter theme for our holiday cards. The new strips were leftover scraps that sort of went together and then I also made a couple of rainbow strips.
Trim your paper down to 3/4" strips. Double check the first strip to make sure it covers your magnetic strip; you may have to adjust trimming the paper accordingly. Since I was making a few magnetic strips, I just trimmed a bunch of paper at once so I could easily mix & match as needed.
3) Time for the Mod Podge - I think this was my mom's favorite step! Use the paint brush to glue the paper strips to the magnetic strip. When everything is in place, use the mod podge once again to paint a coat over the top of the paper. You could also use a clear sealant but the Mod Podge was already out so I just used that instead.
4) Magnets! Hopefully by now you have decided if you'd like to decorate them or leave them plain. If you leave them plain, move on to step 5 - you're nearly finished!
For the holiday card holder, I decorated the magnets with paper scraps & clear flat marbles. Cut out squares of paper slightly larger than the flat marbles. Use a dab of the E6000 to glue the paper to the marble. Trim off the paper around the marble with scissors or a razor blade and memory mat. Use the E6000 to glue the marble to the magnets.
5) Hanging the strips can be tricky...at least for me it was! It took two of us to measure out the spot with the aid of a level, mark it with a pencil, then attempt to center all three strips one above the other! I recommend using the pencil to mark on the wall where you'd like to place the bottom of the strip. Follow the directions on the 3M Command poster strips to attach your magnetic artwork strip to the wall. I used three of the poster strips - one at each end and one in the middle.
6) Hang up your children's artwork or perhaps your holiday/birthday cards. Stand back and admire your new magnetic artwork display!!
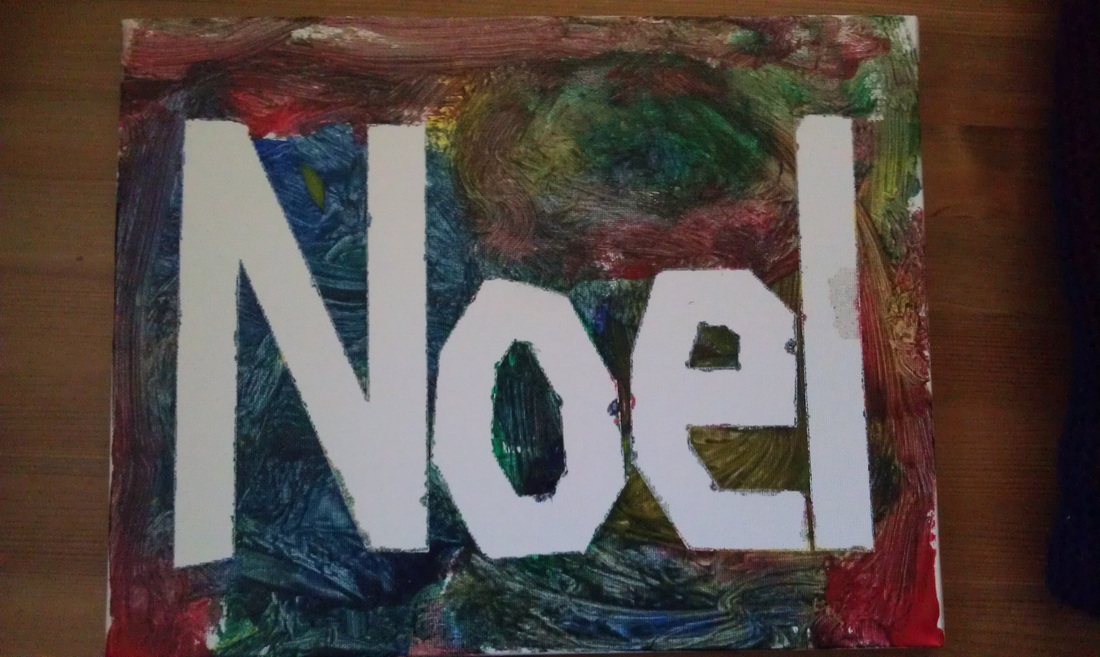
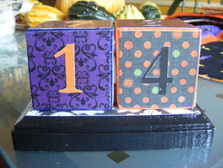
Christmas 2009
You can see in the photo above how I decorated the magnets as well as the magnetic strip for the artwork. I learned the hard way that hot glue is not the best option for really strong magnets - the glass marbles kept separating from the magnets! Which is why I now recommend E6000 - it has a lot more strength to hold things together.
~Be sure to share your photos of your magnetic artwork displays with me on my Facebook page or link to them in the comments below!
~Be sure to share your photos of your magnetic artwork displays with me on my Facebook page or link to them in the comments below!