This week is teacher appreciation week and I wanted to make something fun for Riley's teachers. I was searching my Gift Ideas board on Pinterest when I found this pin: 39 DIY Girfts You'd Actually Want to Receive. I had pinned the photo of the Terrarium Kit and knew that this was what I wanted to do! Of course, I had the so much fun buying supplies and getting everything ready that I finished the terrariums instead of leaving them as a kit for the teachers to put together...something tells me they won't mind too much!
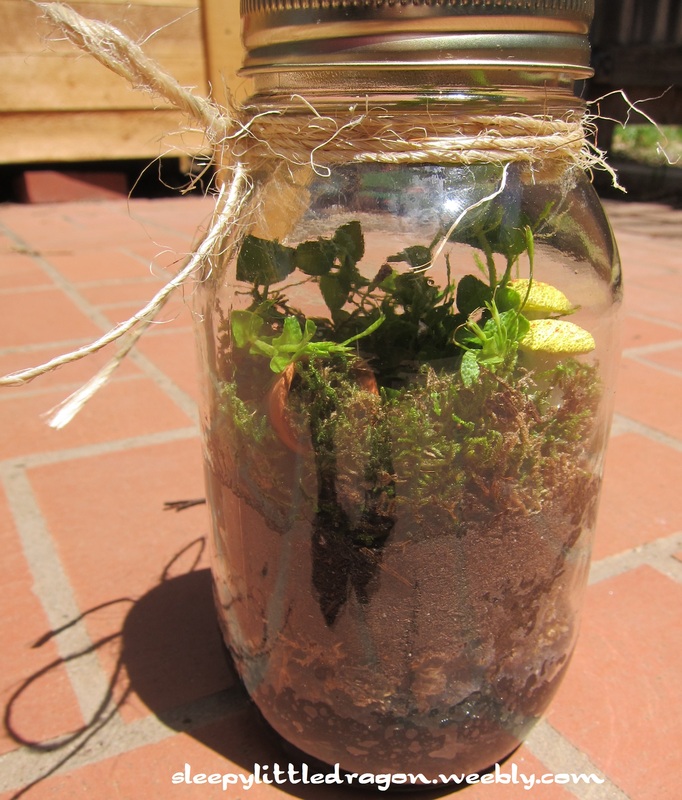
Teacher gift - DIY Terrarium
While I was making the teachers a terrarium, I decided that I needed one as well...then my husband asked for one for his office so in the end, Riley & I made 4 terrariums!
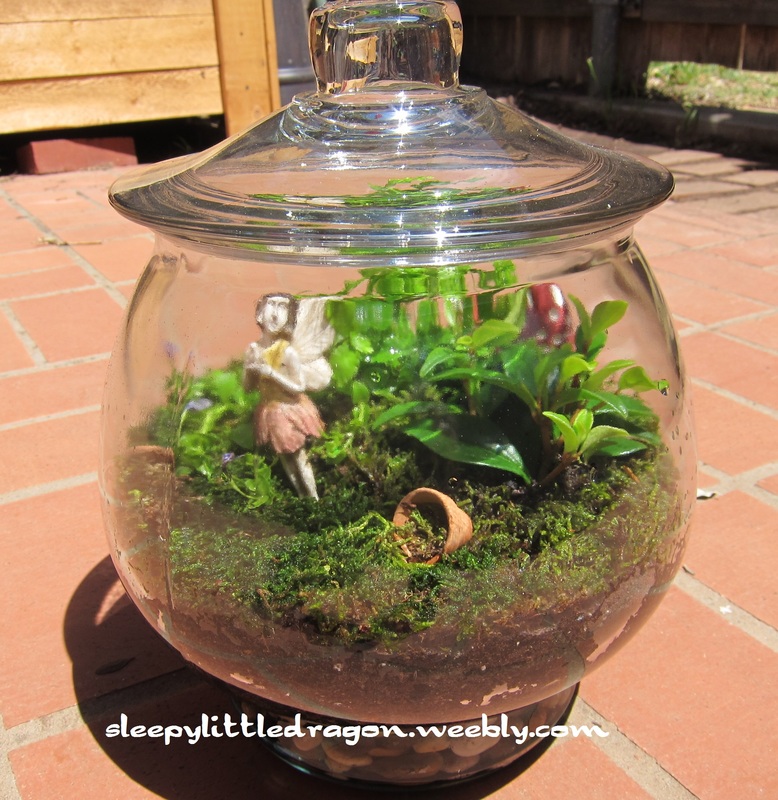
My terrarium, complete with spilled terra cotta pots, mushrooms, & a faerie.
I pulled some Pinspiration from my Plants & Fungi board to see more instructions on what all to include in my terrarium. I ended up combining a few things, mostly because I really liked the layered look of one terrarium in particular (seen here). (Also, there are some great instructions found at this website.)
Supplies!
- Glass jar
- Gravel, pebbles, marbles
- Activated charcoal (available at pet stores or gardening stores)
- Sphagnum moss (the dead stuff, found at gardening stores)
- Potting soil
- Small plants
- Spoon & butter knife
- Moss (living would be best)
- Small decorations
Make it!
- Pour in 1-2 inches of pebbles on the bottom of the jar.
- Place sphagnum moss - this helps prevent the soil from going down into the pebbles.
- Add a thin layer of activated charcoal - this helps to filter the air. *Note - I forgot and did the charcoal before the sphagnum moss...oops!
- Sprinkle a layer of potting soil, roughly ~1/4 - 1/2 inch.
- Remove your plants from their pots and break up the roots a bit to encourage growth. Place in the terrarium in the desired positions - take your time! This is part of the fun in deciding how to set it up.
- Using the knife to help you hold back the plants, spoon more potting soil all around the plants, filling in the gaps. You should have about 1-2" total potting soil.
- Add the moss - you'll need to break it into smaller chunks to fit the spaces around your plants. Gently lift the foliage and place the moss all around the plants' stems. I used the knife to sort of poke it down into place, pushing the edges of the moss down around the inside of the jar.
- Add decorations! My favorite step! I purchased most of my things from my local garden store - they now have fairy garden supplies, making it awfully convenient to pick up cute little decorations! I found the terra cotta pots at Michael's.
- Sprinkle in some water, not too much...it shouldn't be higher than the gravel in the base of the jar.
- Put the lid on and leave it in an area of your home that receives bright light (not too dark, not too sunny!).
It may take awhile to figure out if you have too much water or need to add more. Keep an eye on your terrarium and if it starts to look dry, add more water. If there is too much condensation, remove the lid for a little while to let the water escape. You should be able to reach an equilibrium where you need not remove the lid! You'll have your very own self-contained terrarium!
Learn more!
I have always had a great interest in biospheres - especially after I came across the EcoSphere Self-Contained Underwater Ecosystem. They are salt-water biospheres with shrimp in them! So cool!
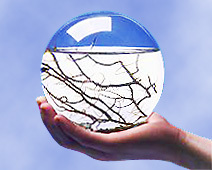
EcoSphere Self-Contained Underwater Ecosystem
- If you can't afford one of these spendy little globes, you can make your own biosphere with these really great instructions from MAKE.

Make your own Biosphere!
- Here's a great list of terrarium books someone else has already put together.
Terrarium Craft: Create 50 Magical, Miniature Worlds By Amy Bryant Aiello and Kate Bryant
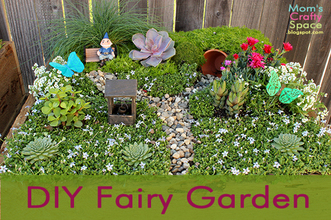
- Check out this webpage for a great DIY on fairy gardens.
- You should also check out the amazing Fairy Gardens on The Magic Onions! They have a competition every year so there are loads of fun photos to ooooh and ahhhhh over!